How to Polish Shoes
A pair of shiny shoes will greatly enhance your dapper looks. Fortunately, it’s not hard to polish your shoes. You just need the right equipments.
Depending on your preference (if you like those mirror finish a.k.a spit shine), you may also need to invest a bit of time in polishing your shoes.
Without further ado, let’s begin!
Equipment
Shoe Polish Supplies
- Shoe polish
- Horsehair brush
- Applicator brush
- Shoe tree / paper
- Polishing cloth (optional)
- Water (optional)
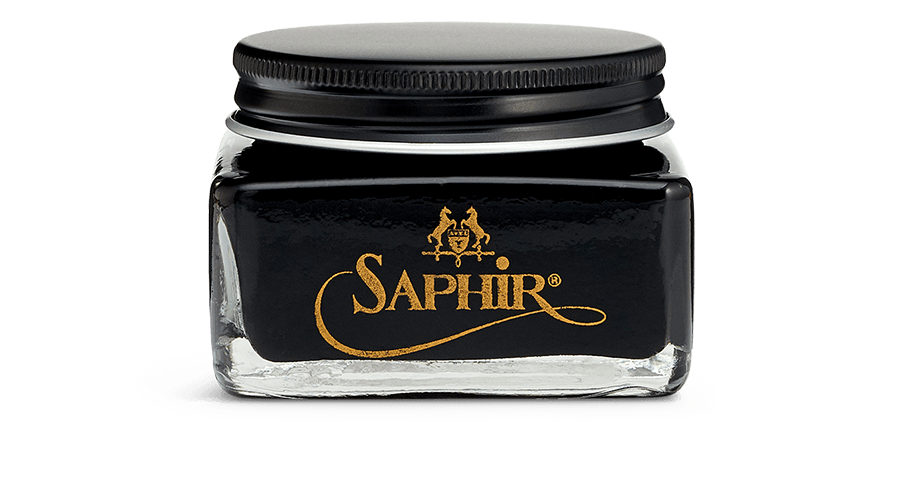
Shoe Polish
There are two types of polish, cream or wax based. Cream will provide richer color but less shine, it will also moisturizes your shoes a bit. On the other hand, wax based polish will add a layer of protection and provides shine to your shoes.
If you want a mirror finish / spit shine on your shoes, then you need the wax based polish.

If your shoes looks a bit dull and need to add some color, choose cream based.
Or, if you are really invested in this, use both to get all of the benefits. I personally like to use both.
It should be noted that you will want to match your polish color as close as possible to your original shoes color. Having said that, unless you use black polish for brown colored shoes, you won’t ruin your shoes with slightly different colored polish. In fact, if you are adventorous, you can add some accents to your shoes by using different polish color. For example, I like to use burgundy wax polish on a dark brown shoes, so it provides a little bit of red.
If you don’t want to invest in a lot of different polish, then use neutral colored polish. The color will not be as deep, but it will give shine to your shoes.
Always test on a hidden part before committing the polish with the whole shoes. Rub a small amount of the polish then leave it overnight. Make sure that the polish does not damage your shoes. Some polish can be harsh to your shoes.
Horsehair buffing brush
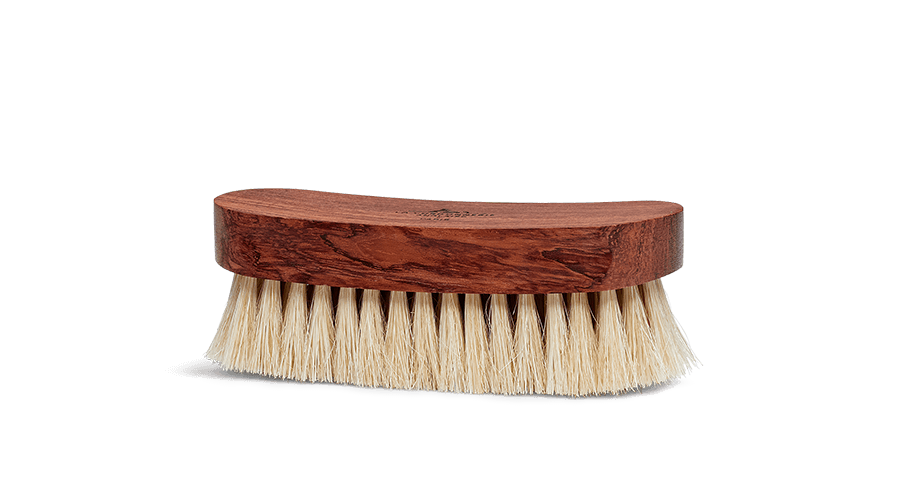
The first question that you might have might be, why horsehair brush? Can’t I use old toothbrush? Horsehair brush is quite soft but sturdy. Brush is not that expensive and last long, so you should get one. You will see the difference in result.
There are also a few brush which uses pig bristle or goat hair. Pig bristle is more for removing excess polish rather than shining. While goat hair is finer and can provide better shine, however, they are a bit rare.
Applicator brush

This brush is for applying the polish into your shoes. You can usually get a combo applicator/buffing brush (see above image). An alternative would be to use old tshirts or chamois.
Shoe tree / paper
You want to keep the shape of your shoes while polishing. A simple old newspaper will do the job. However, if you are feeling posh, then get a shoe tree.
Polishing cloth
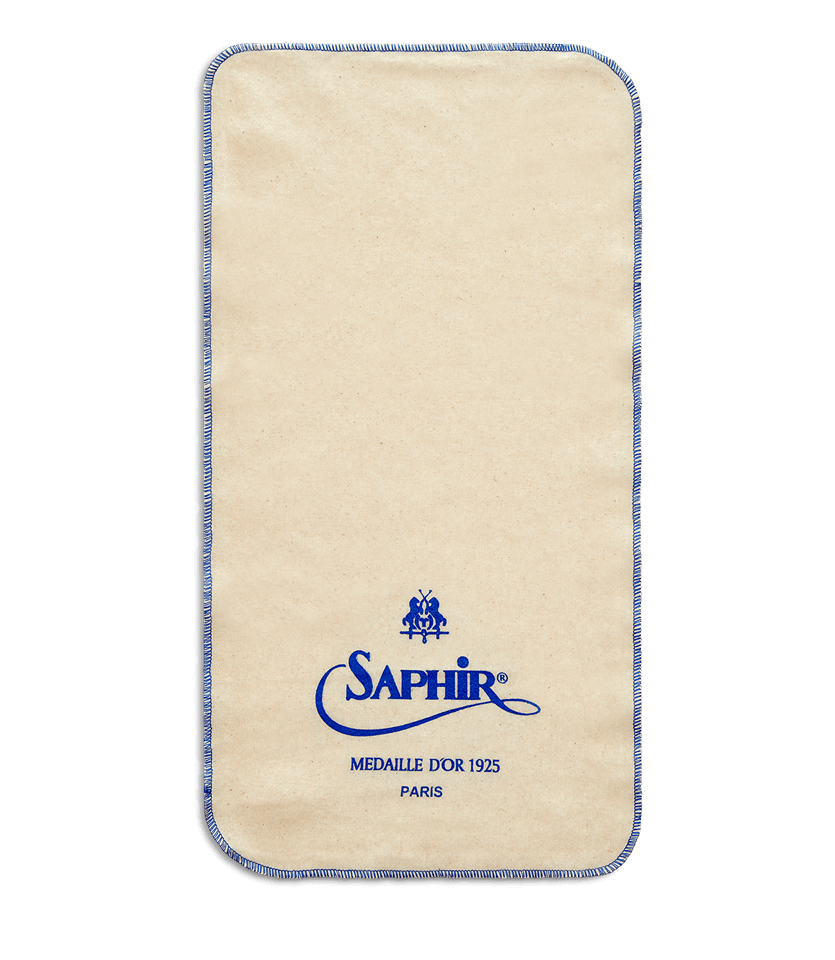
If you want a mirror finish, then you will need a polishing cloth. Alternative to this would be an old tshirt, chamois or selvyt.
Note: if you are using cloth as your applicator as well, you might want to use 2 different clothes. One for applying polish into the shoes and one for final polishing. Shoe polish can cause permanent coloring to your shirt/wall/carpet/etc! You don’t want to accidentally smear your polish when doing the mirror finish.
Water
For mirror finish, you will need a little bit of water. I like to use a small spray bottle so the water spreads evenly. This process is also known as spit finish. Long time ago people use spit to do it, so you can certainly use your spit too! ;)
Step-by-step Polishing Guide
(Video coming soon)
Step 0: Is this the first time you polish the shoes?
If you haven’t polished your shoes for quite a while or your shoes are dirty, you might want to do some cleaning and conditioning first.
Step 1: Remove the shoe laces
You don’t want to dirty your laces with polish. Please, please remove those laces. Don’t be lazy!
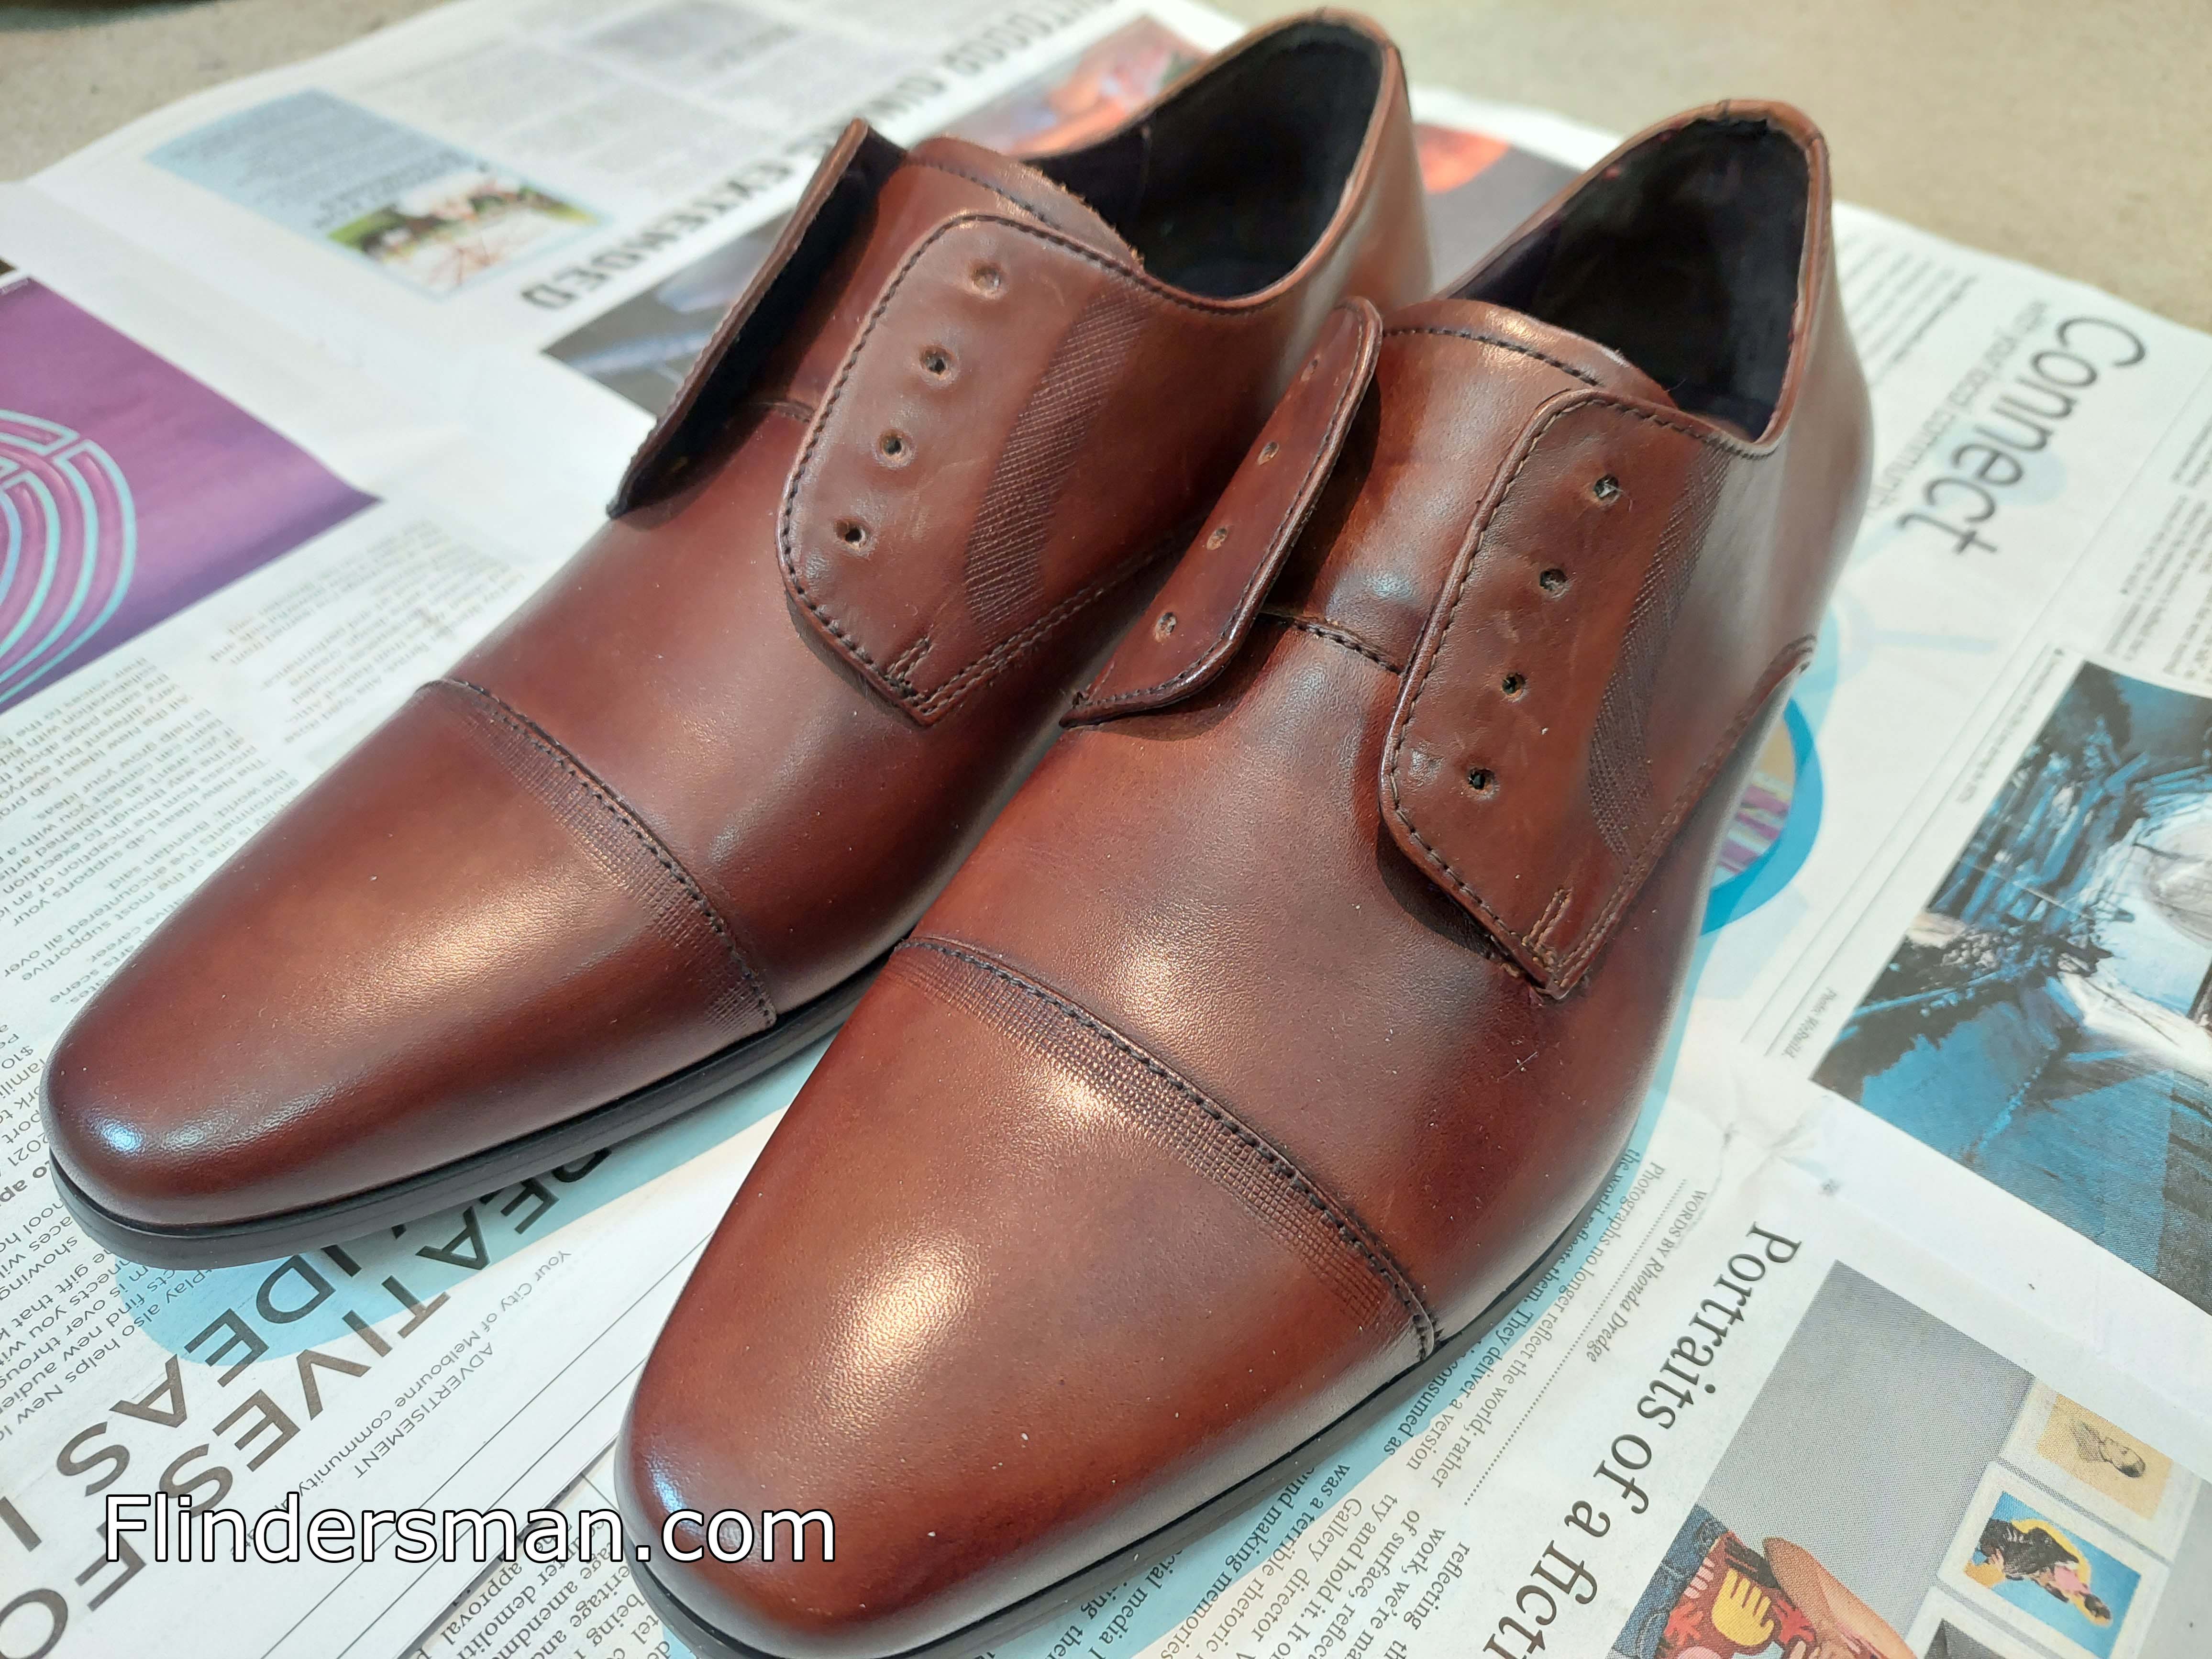
Step 2: Fill the shoes
Insert your shoe tree or newspaper to maintain shape of shoes so you can apply a bit of pressure when polishing.
Step 3: Brush dust
Your buffing brush will do the job. Give your shoes a nice brush to remove the dust.
Step 4: Apply polish
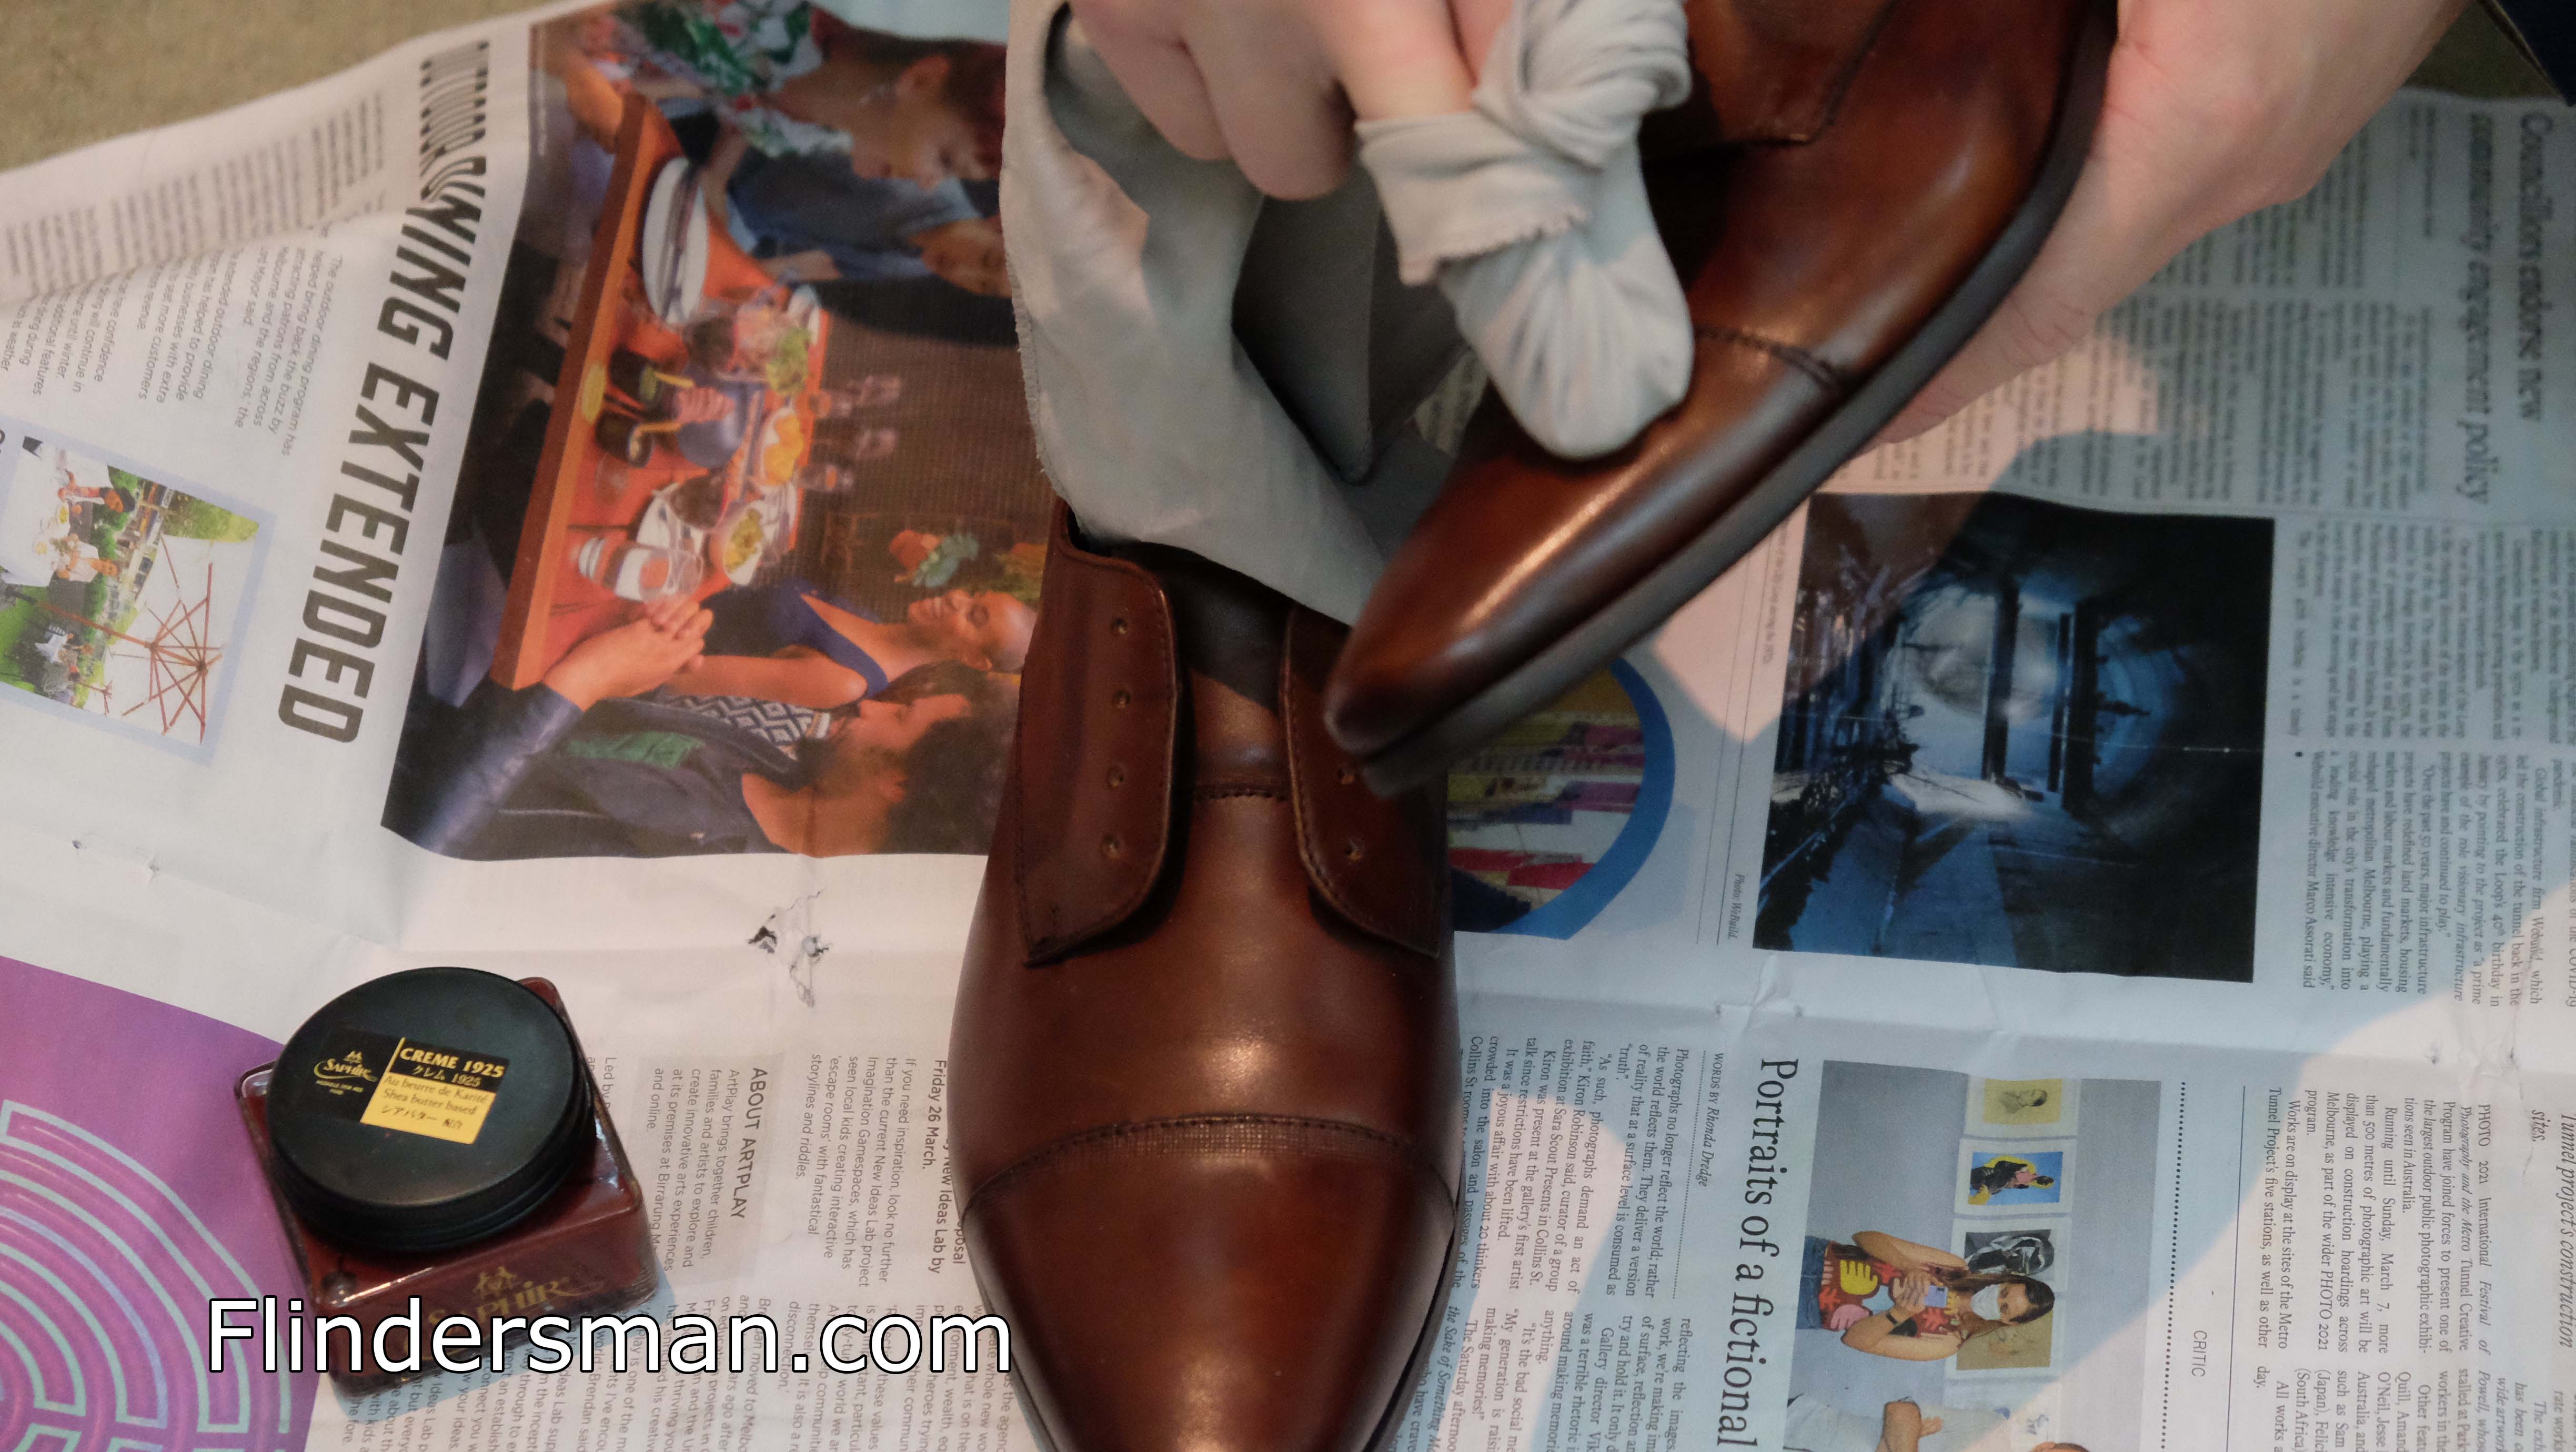
Using your applicator of choise (applicator brush/cloth), apply the polish in circular motion. Apply evenly, making sure you cover the whole shoes (leave the soles alone please).
Let them dry, about 10-15 minutes (your shoes might look a bit matte and dull at this point of time).
If you are using both the cream and wax polish, apply the cream first at this point.
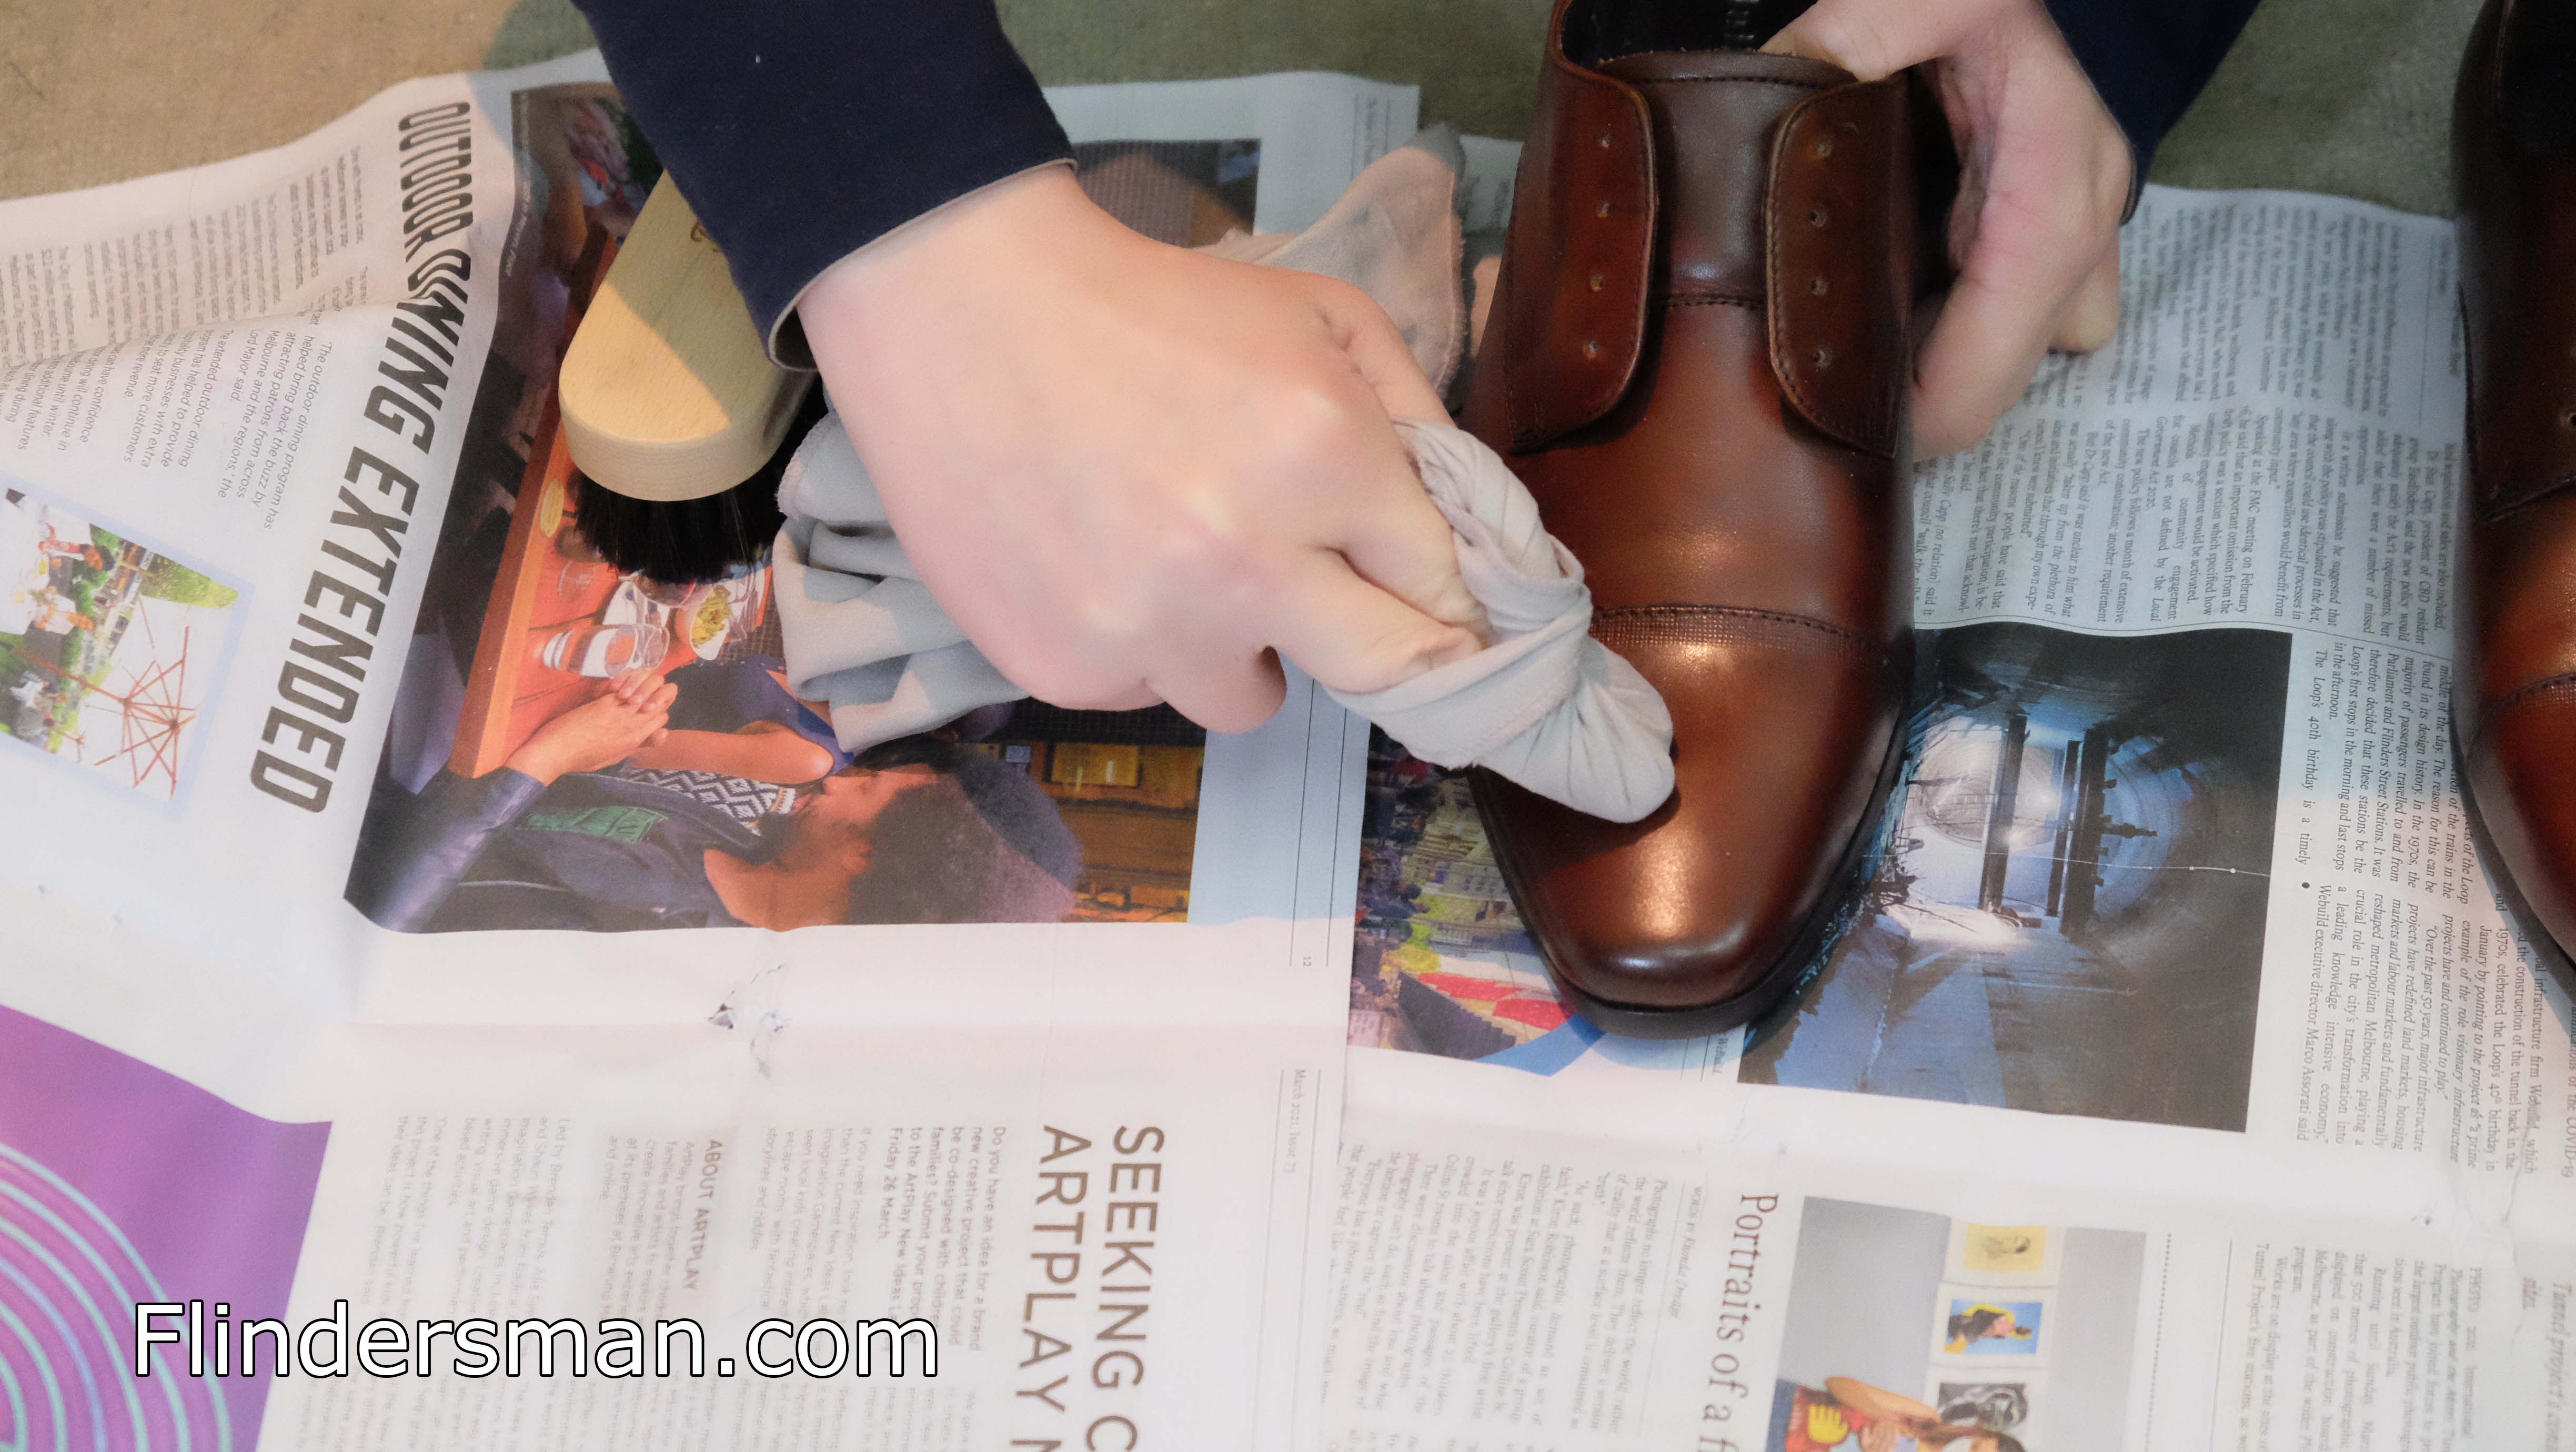
Step 5: Buff
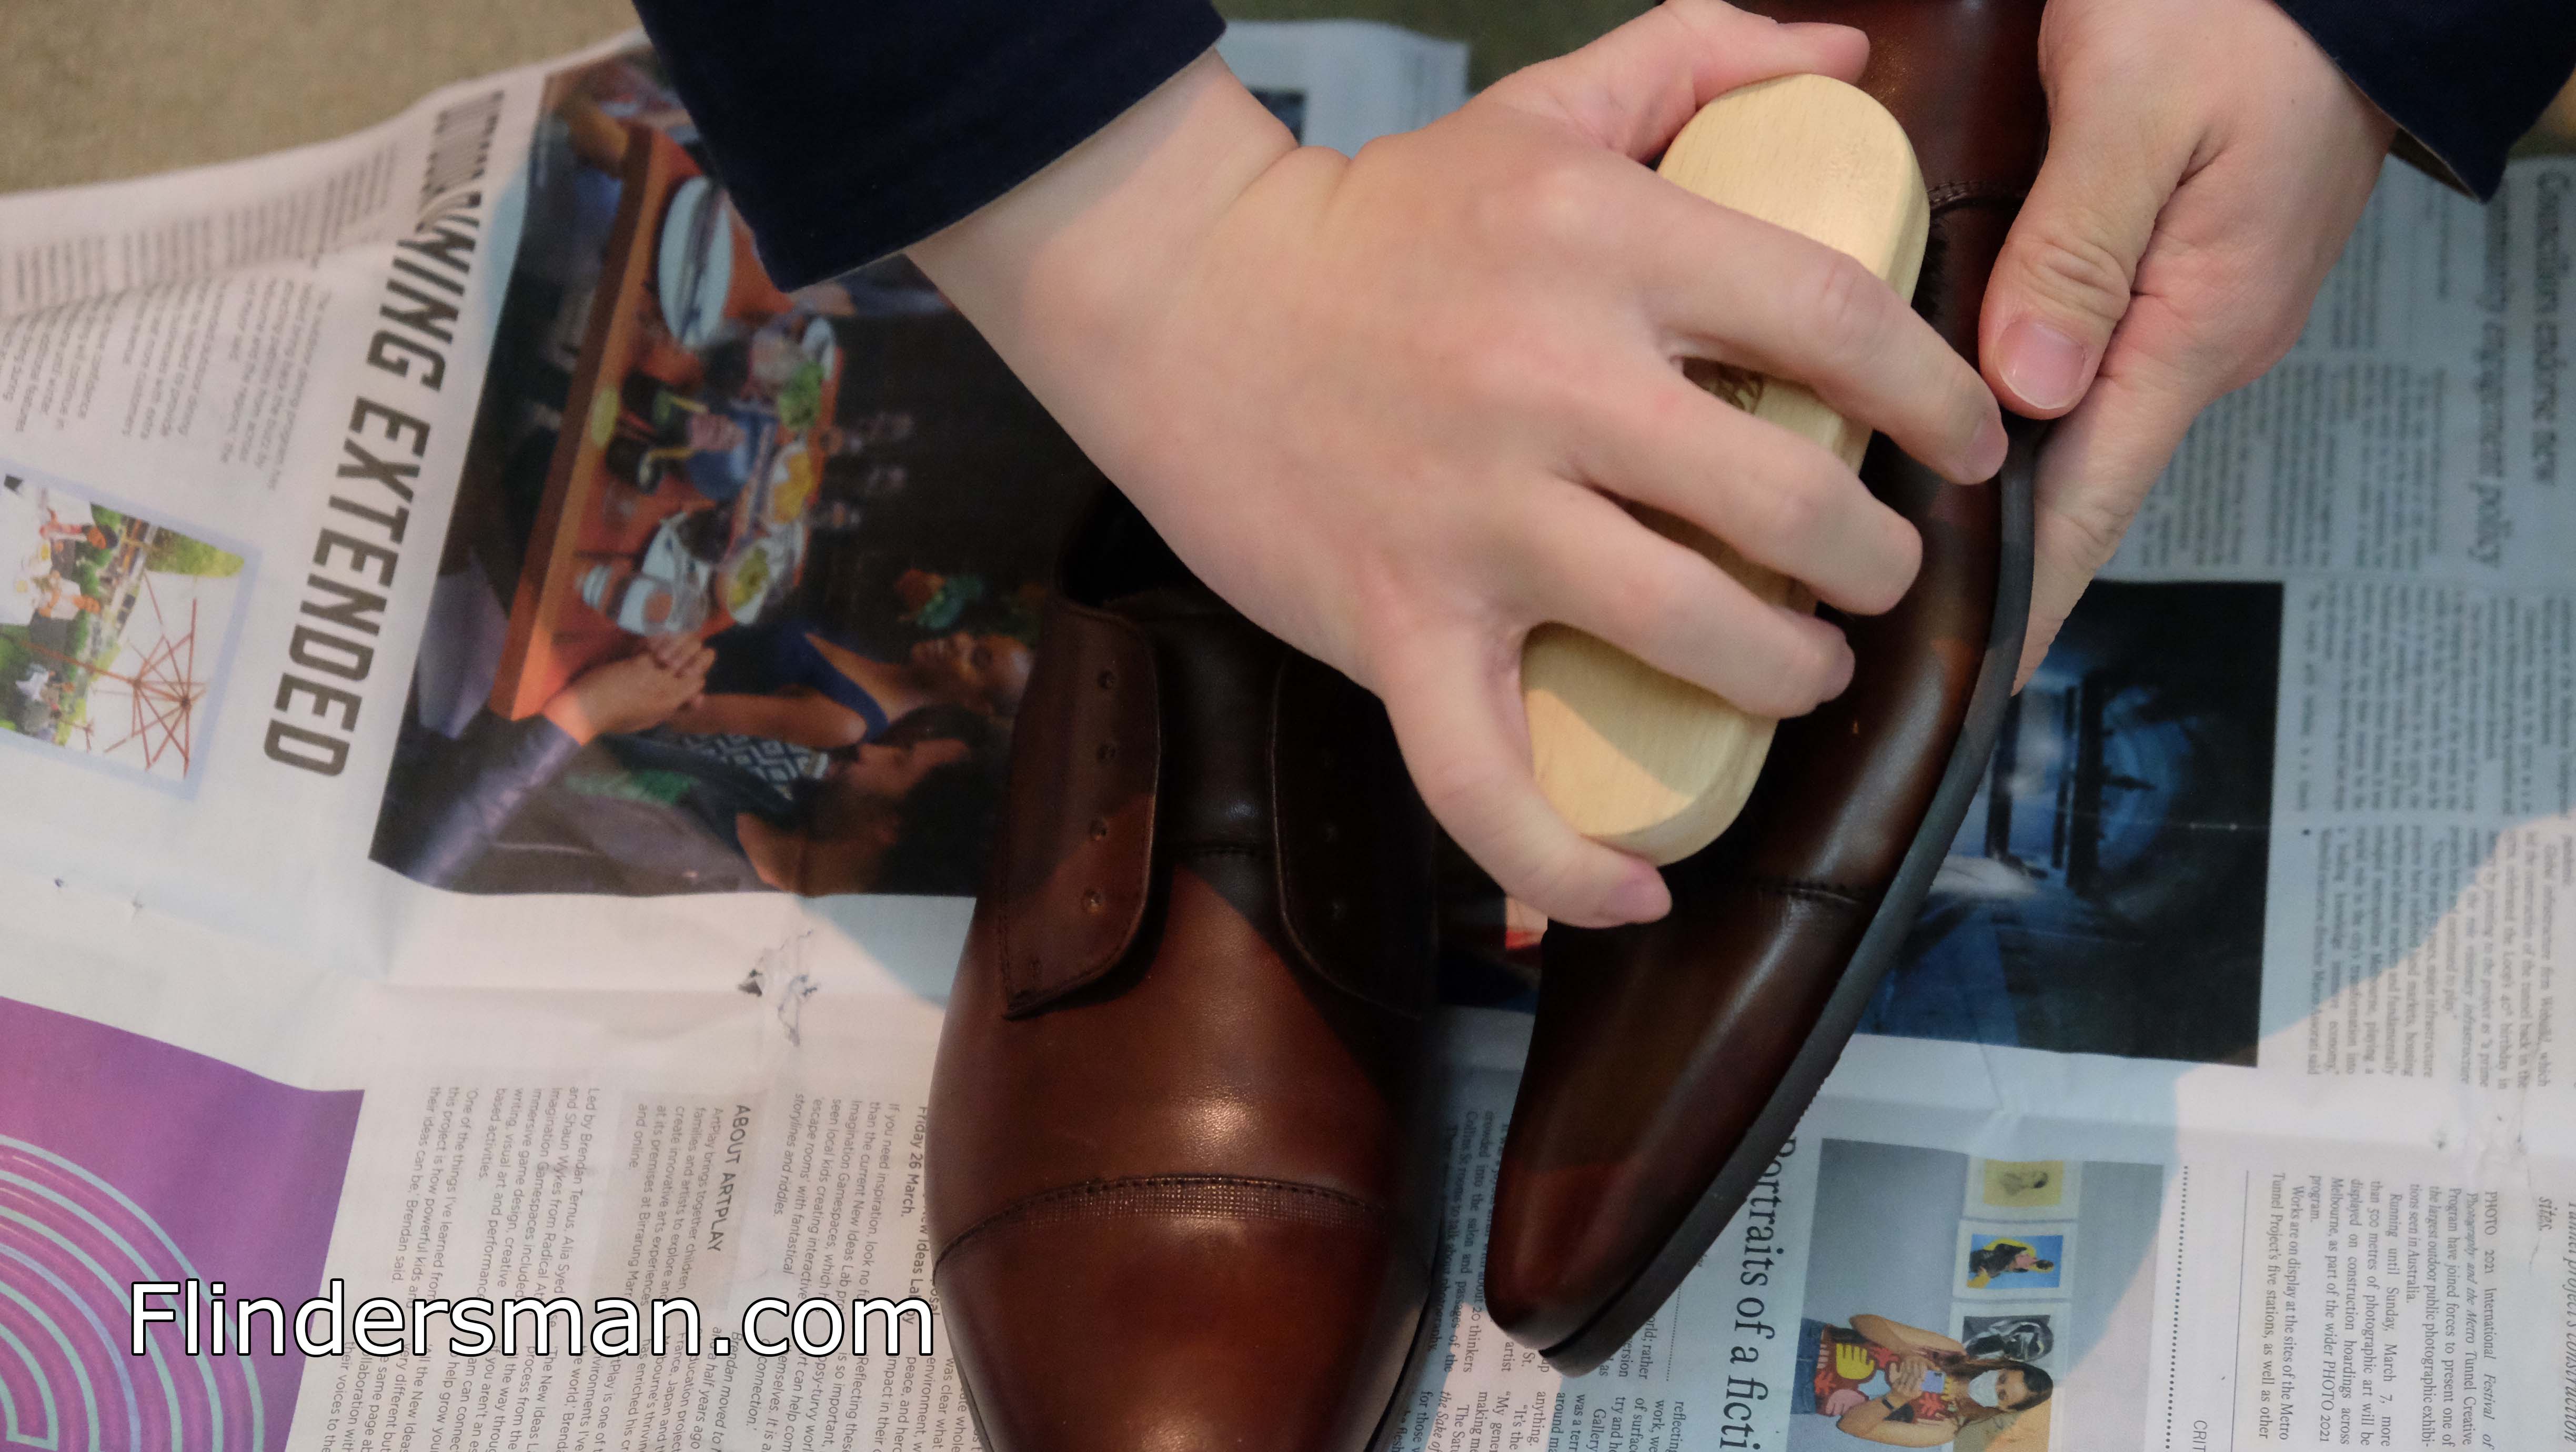
Time to buff! Brush them with a side-to-side movement, you will only want a very light pressure.
Keep brushing until it becomes shinier.
Do step 4 and 5 again if needed. I usually apply 1 or 2 layers of cream polish and 2-3 layers of wax polish.
At this point of time, your shoes should be reasonably shiny. You can stop here if you are happy with the result. For dress shoes, you might want to add the mirror finish so you can fix your hair using your shoes as mirror (I’m kidding, you won’t be able to do that)
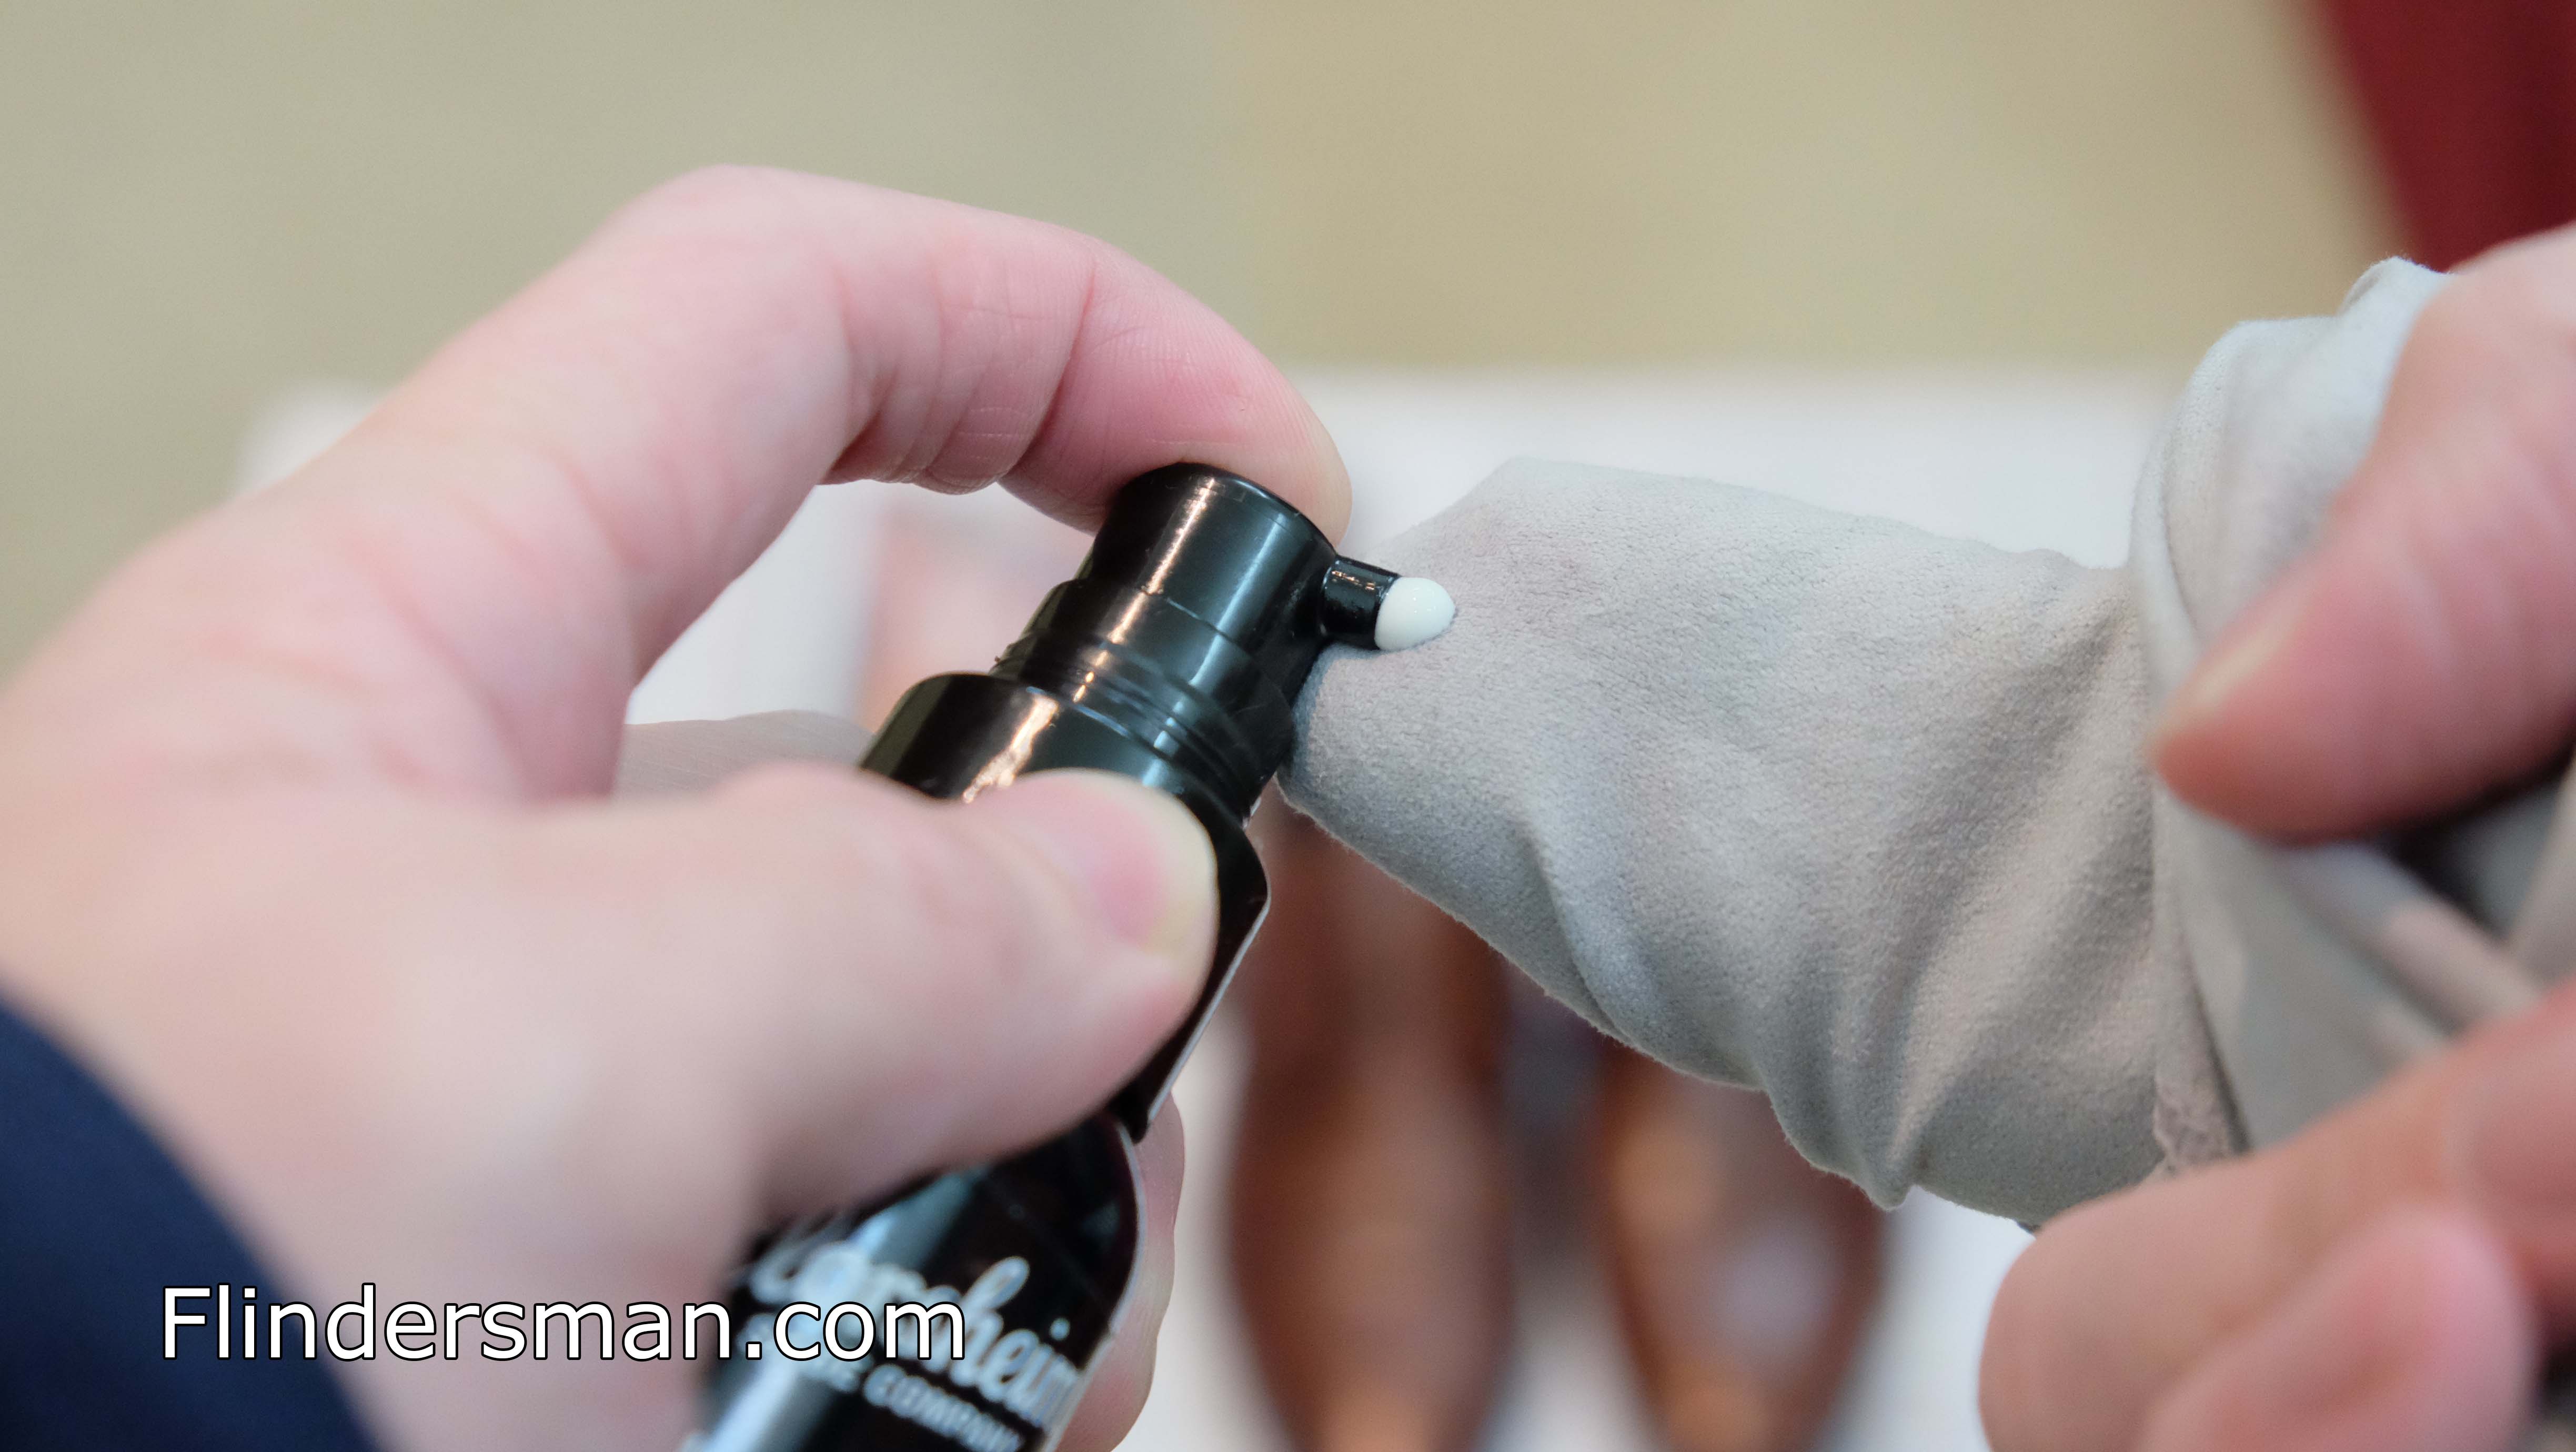
Step 6: Spit shine
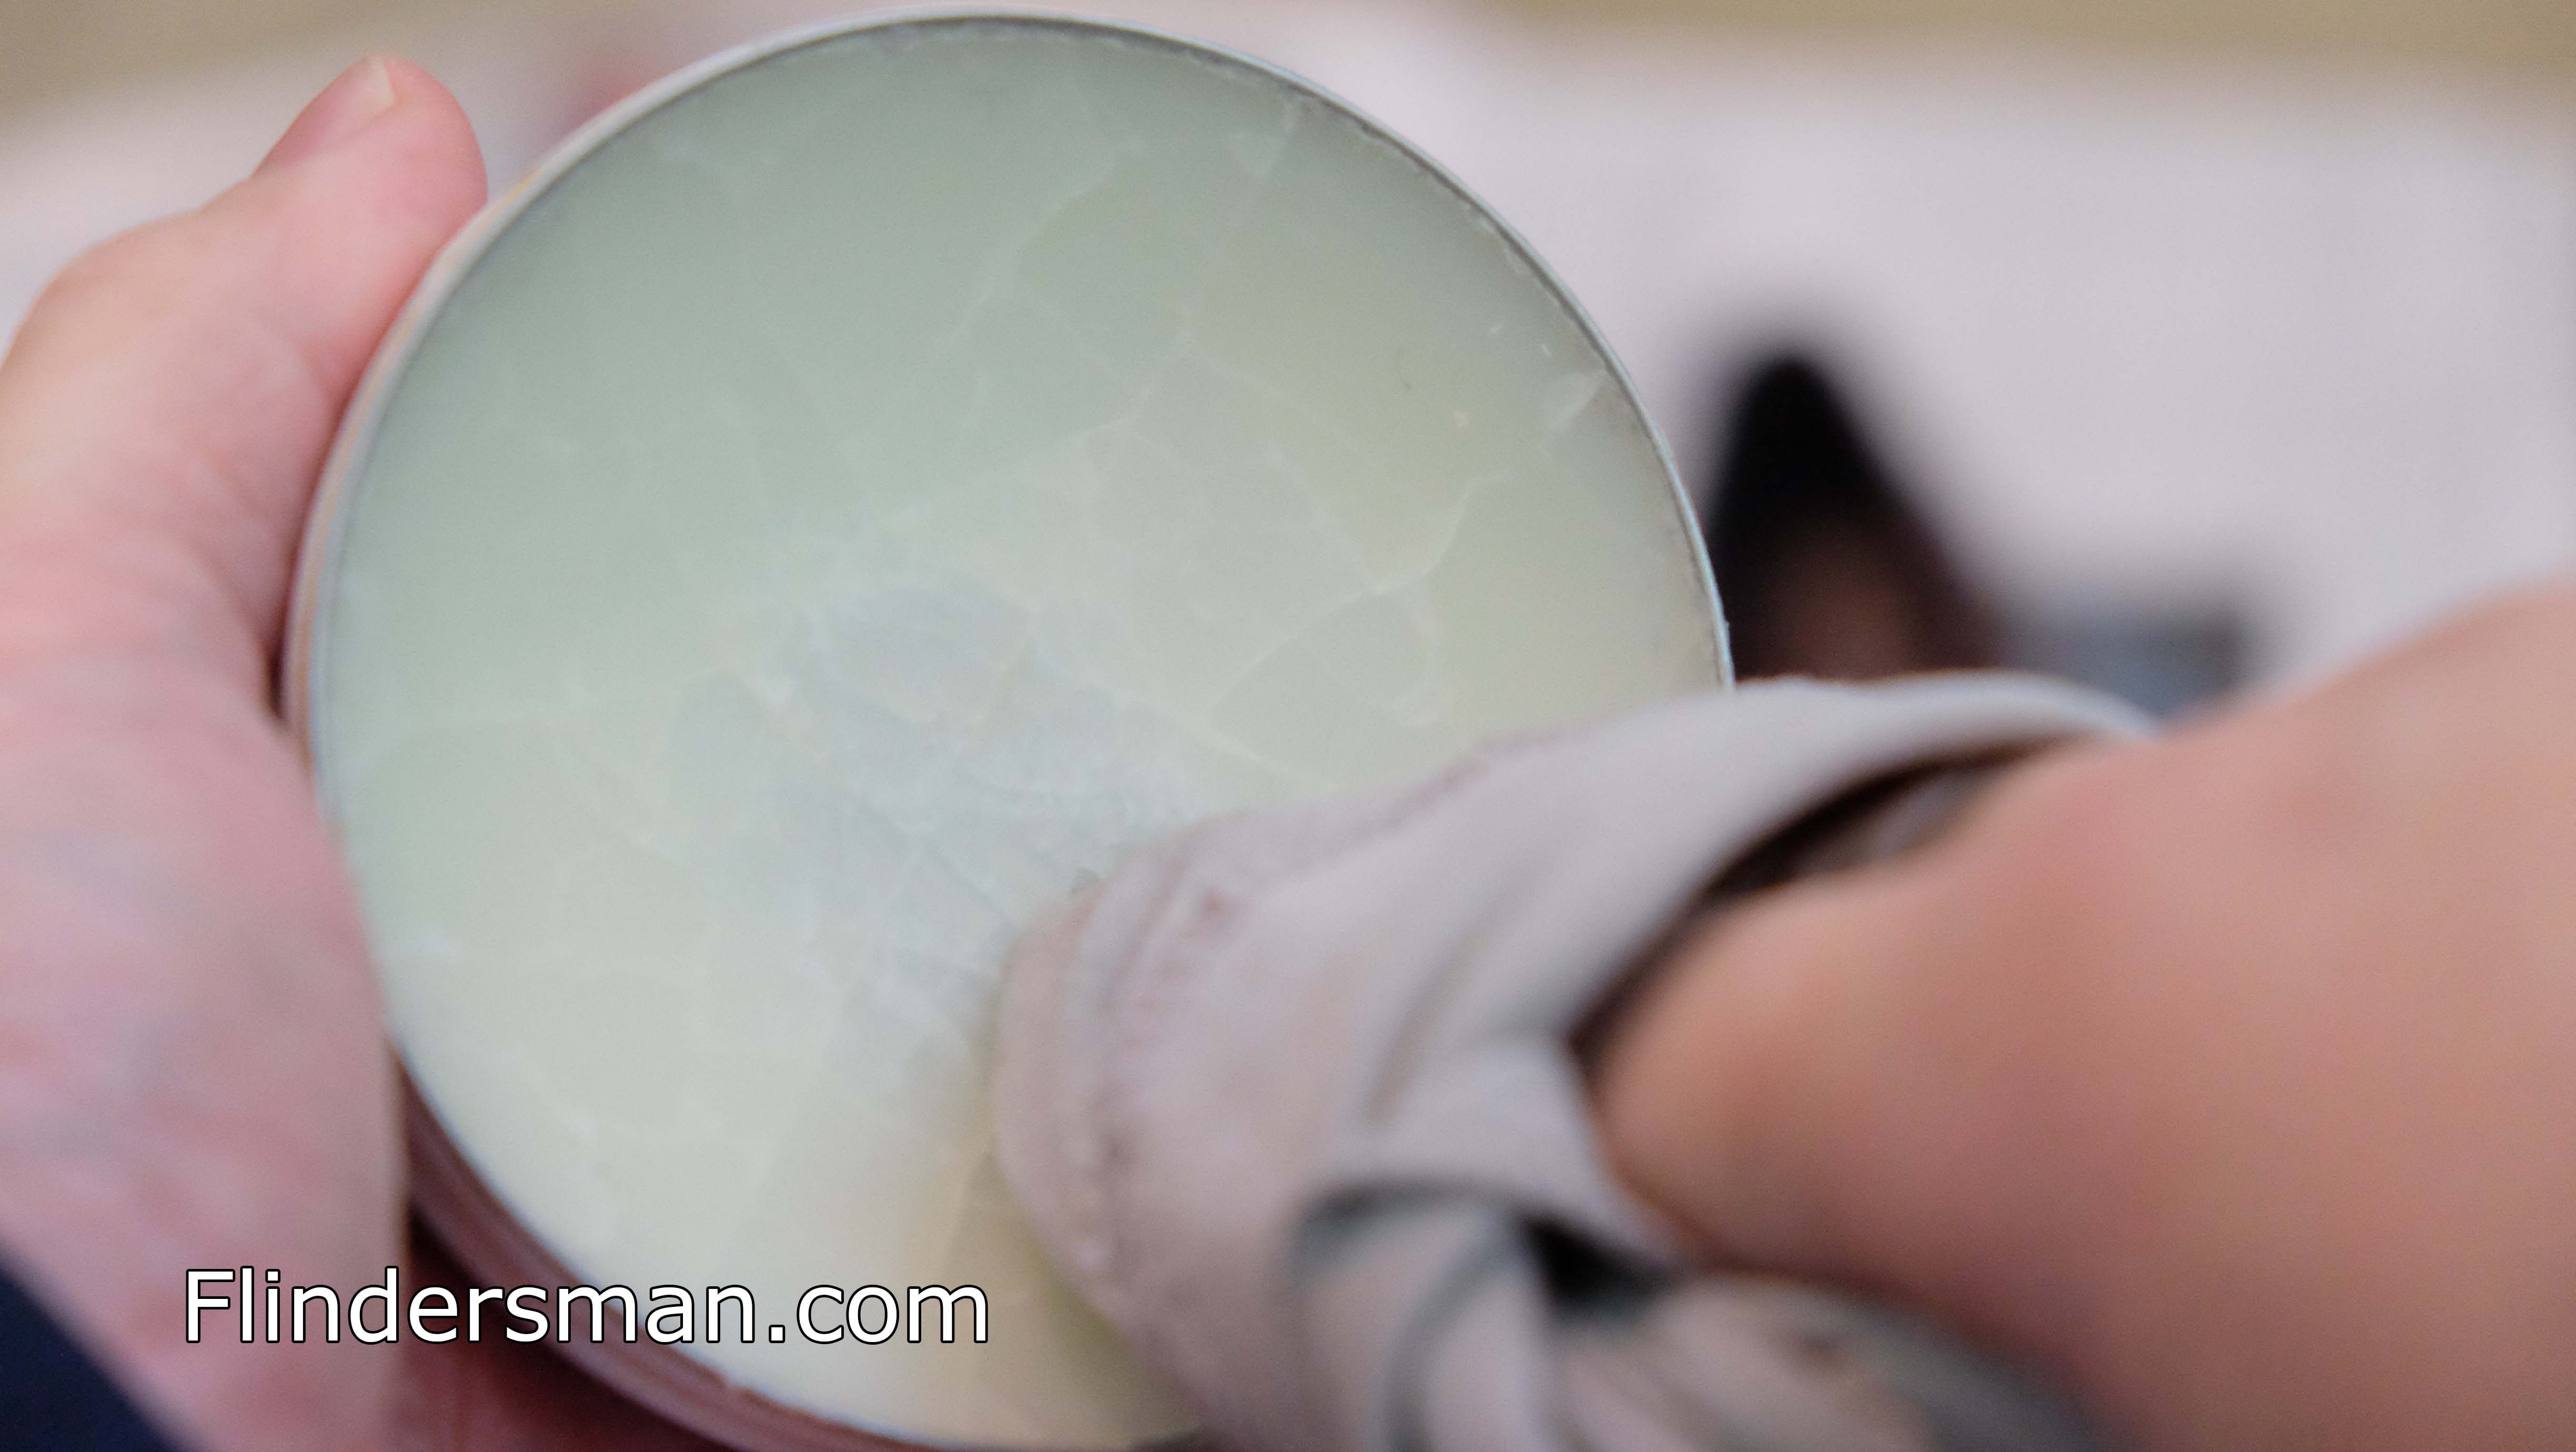
Get your clean and dry cloth and rub it into your wax polish (some wax might be a little hard, give them a good rub so you get some wax on your cloth)
Apply the wax in circular motion to your shoes.
Your toe caps/heels will look cloudy after you apply the wax polish.
Step 7: Spit on your shoes!
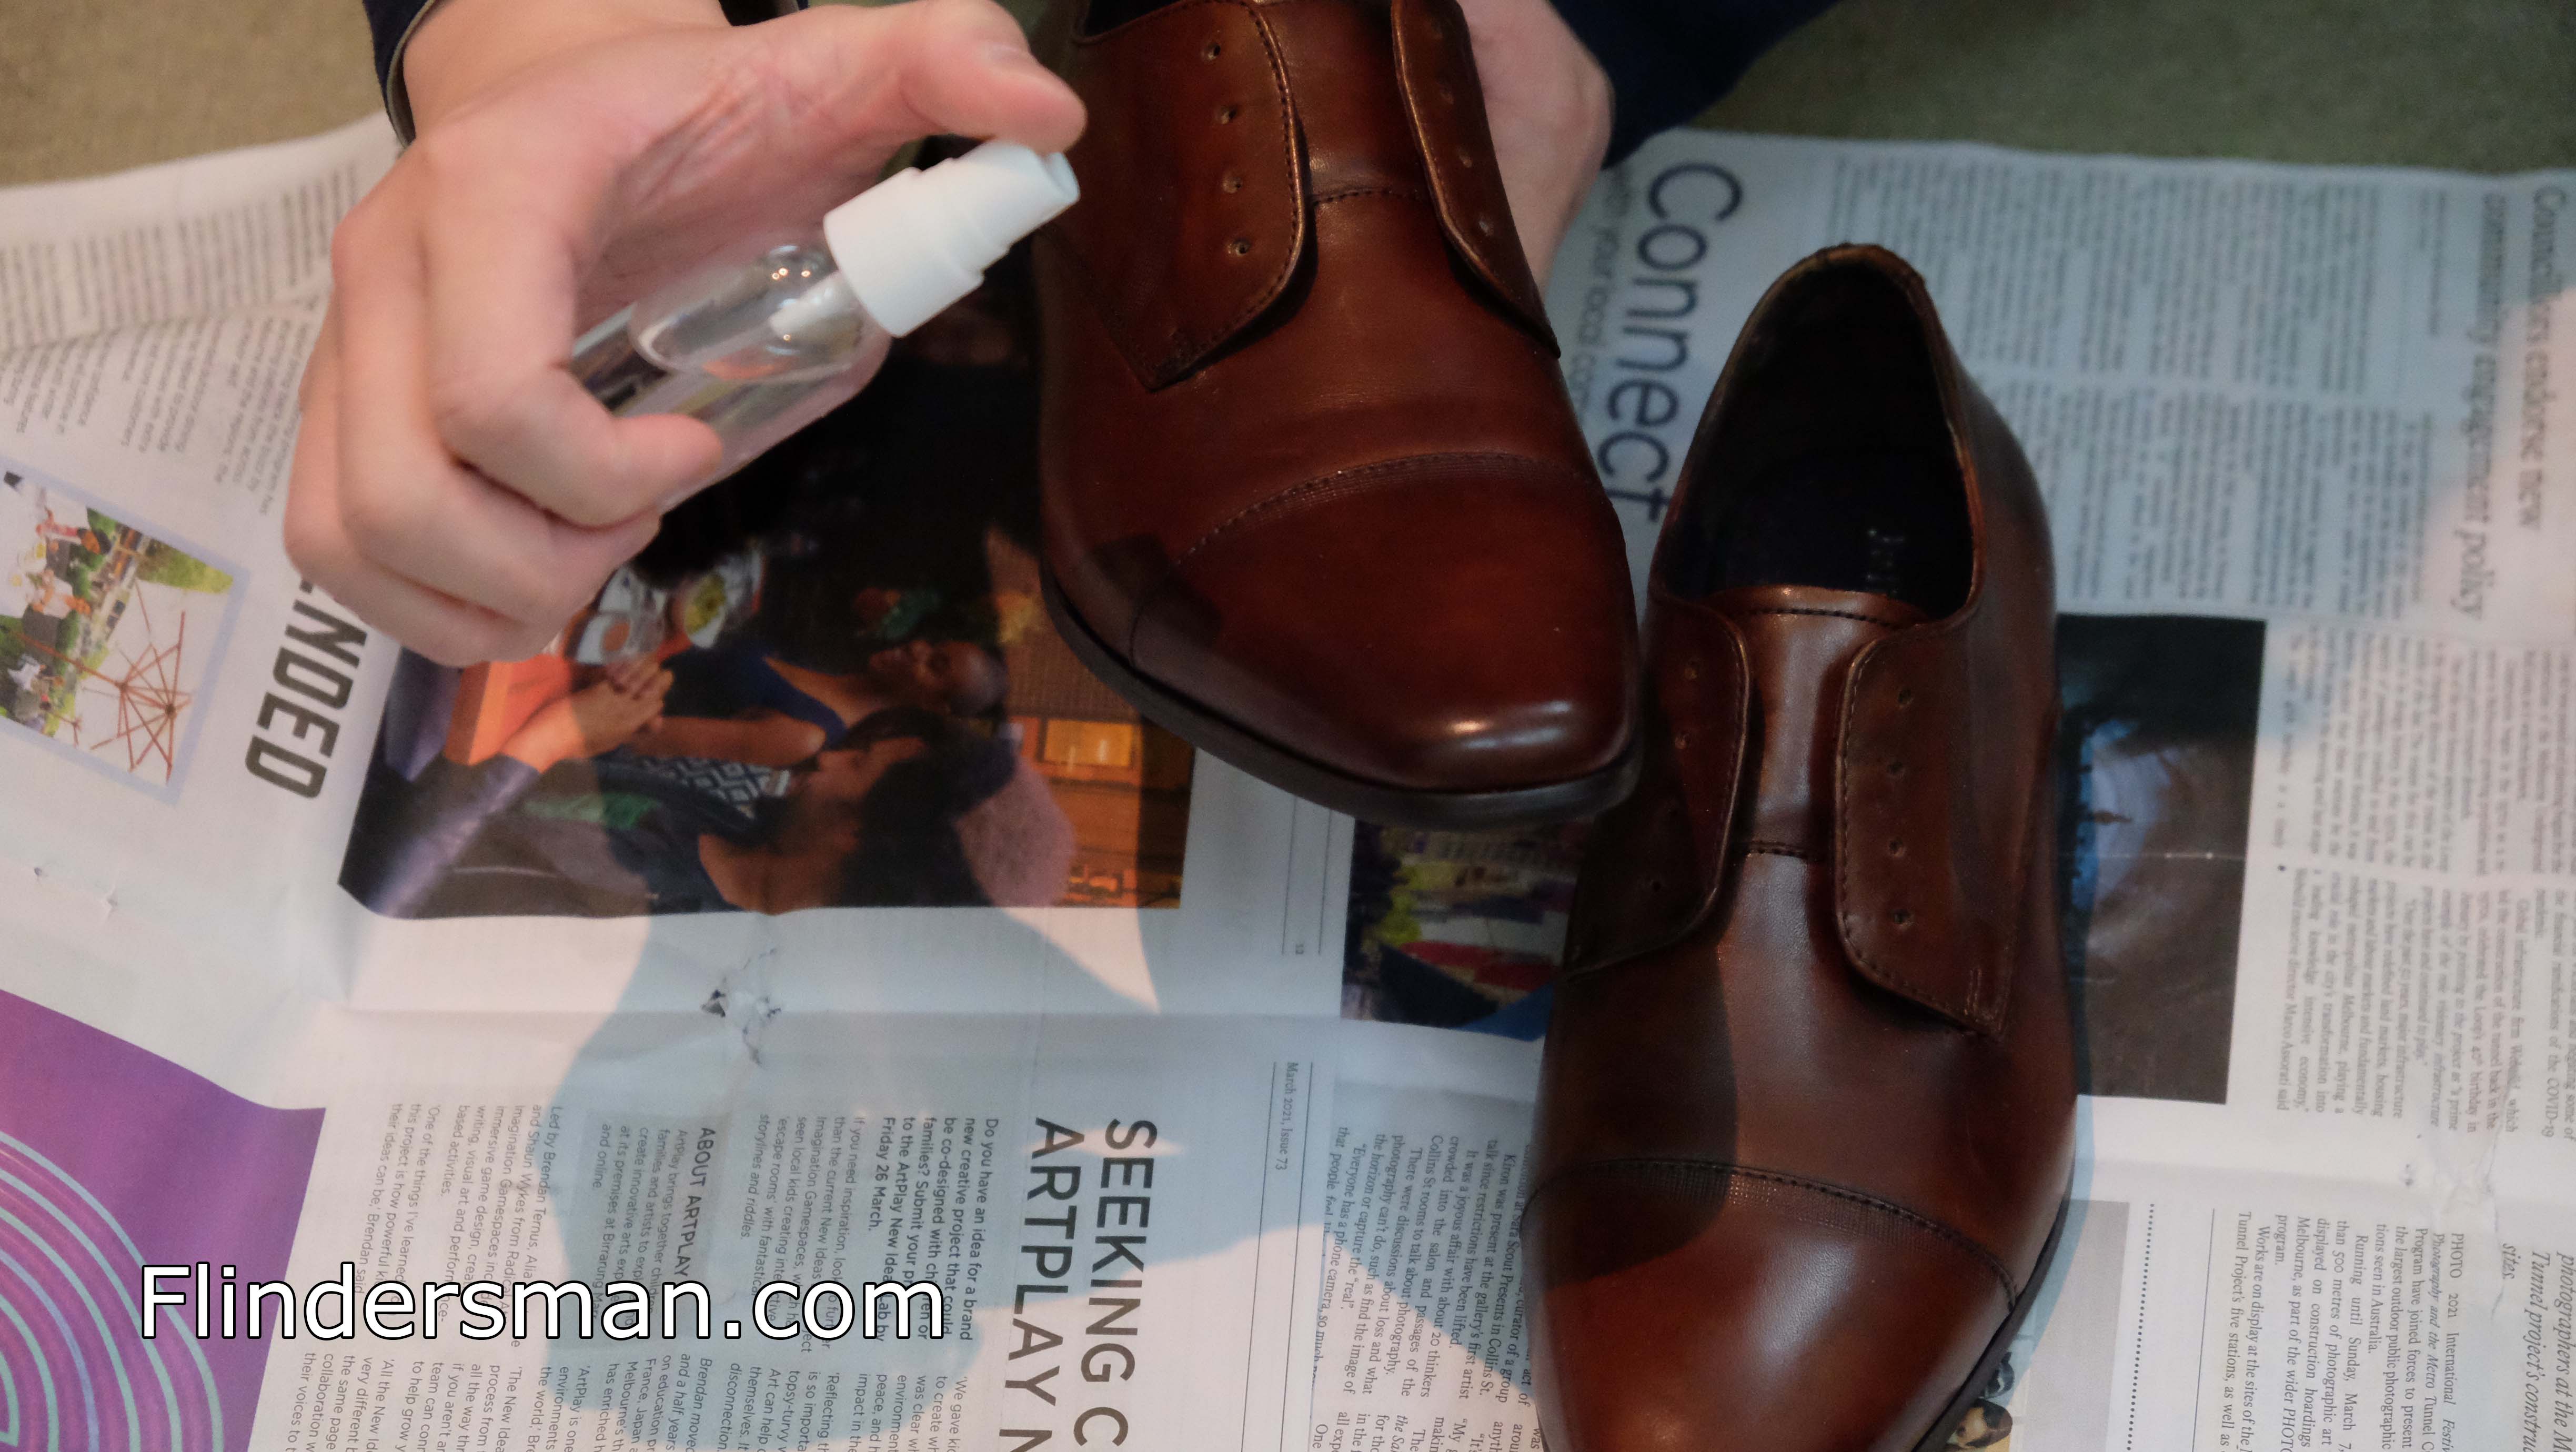
Spit on your shoes (just 1 tiny drop should be enough), or 1 tiny spray of water using your spray bottle should be plenty. Don’t use too much water!
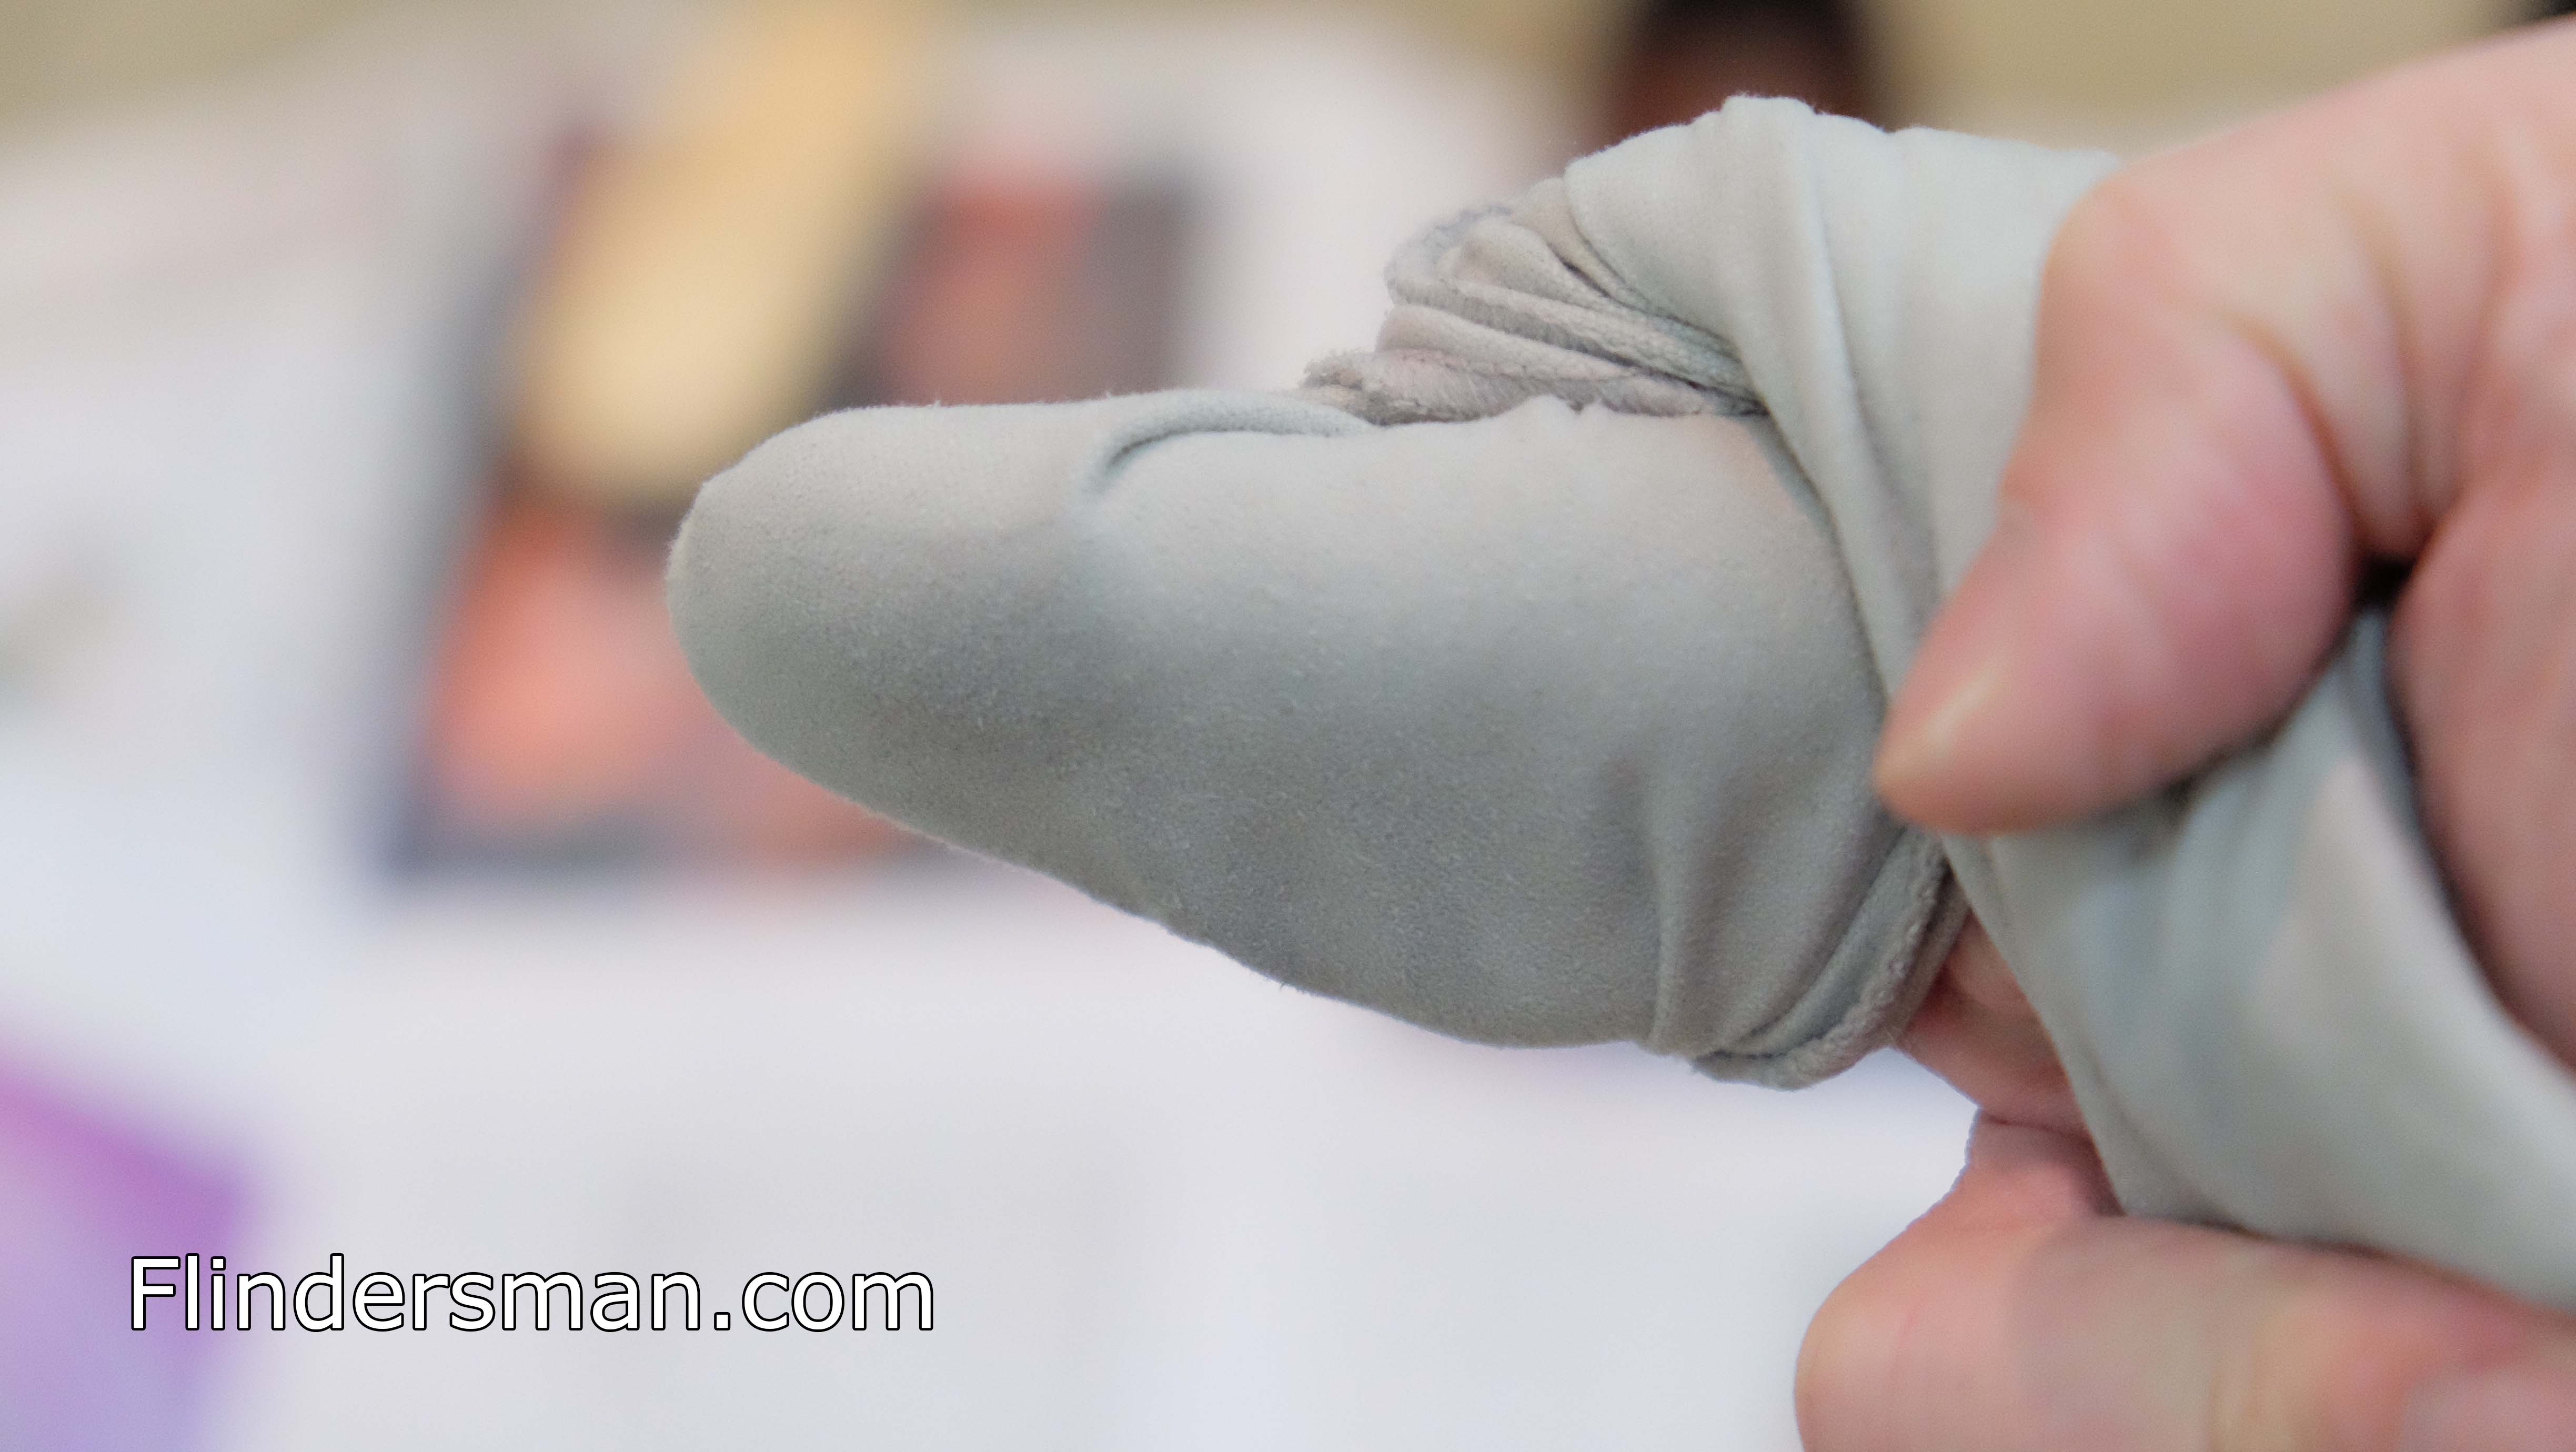
Wrap your cloth around two fingers, and polish the toe caps/heels using quick small circular motions until the cloudiness disappear. (make sure the part that you wrap your fingers with is dry and don’t contain wax! you might want to use different part of your cloth every time you redo step 6 and 7)
Redo step 6 and 7 until you are satisfied with the result.
It is important that if you want more than 2 layers of wax polish, then only do it on the HARDENED part of the shoes. This is usually the toe caps and the heels. For the other parts, 2 layers of wax is more than enough. Based on experience, when you walk your shoes will make some creases and the wax will crack if you apply too many layers on these crease areas.
Step 8: Let dry overnight
Let the shoes dry overnight. Relace your shoes and take a photo!